Социальная сеть для мотоциклистов
It has been ten years since I started driving my vintage Vespa scooter, and since it has lost its initial beautiful look, I decided to do the large work of cleaning and restoring the bodywork of the machine. The first thing I began with was downloading the manual for my scooter because I needed to know the location of the parts and screws. It took me just a few seconds to find the file I needed on this Vespa model on the Internet. I went through the manual before I started doing anything and while I was working I kept it close to me to have a look at the info instantly.
It took me some time to unscrew and detach the part of the machine, but I finally managed to do this. The condition of the part was not good as there were a few dents in the body that required repair. What I planned to do was fixing dents, cleaning the part, and painting it. It is known that Vespa machines tend to rust, so I was going to fight this problem as well.
There are several things that you can use to remove rust from your vintage Vespa scooter, but I preferred aluminium foil. This simple kitchen tool is very helpful for this job. I took a foot square of aluminum foil and made a ball from it. Then I just started rubbing the Vespa bodywork back and forth over the rust. It is important to press the ball a little bit to achieve a better effect. Over some time, I realized that I had removed the rust from the part of my scooter without damaging it. In some places, I also had to use some oil because the rust was stubborn.
Then I started fixing dents. I had just a few of them, so it did not take me a long time. Since I had the bodywork detached, I could simply use my hammer to repair everything. I placed the part on a stone and hammered from the other side until the dents disappeared. It is a quick and effective way to get rid of dents. Well, sometimes it is possible to repair them without taking the bodywork out of your Vespa scooter, but it depends on where the dent is and how bad it is.
Then I sprayed the body with carburetor cleaner to remove any signs of stickers, grease, and gasoline from the part after repair. I used engine de-greaser to remove the cleaner and the rest of grease and dirt and then I left the part to dry. Once it was ready, I carefully sanded it with 220G sandpaper. Since the part is large it took me some time and patience. Then I washed the Vespa part with soap and water. By the way, I was wearing the protecting gloves to avoid any damage to my hands. After that, I dry the bodywork with the towel until it is dry.
However, just in case, I left the part for about 40 minutes to dry completely.
I inspected the body carefully to make sure that no shiny parts were left and since everything was ok, I could move further. Now the Vespa part was fully ready for painting. I shook the can for a few minutes, which is a very important thing to do before you actually start painting anything.
I chose the dark blue as the main color and I did not want to add any additional colors because it was beautiful enough and I preferred to keep it simple. I also want to give you a few tips on how to do the work more effectively. Remember that the can should be something like 10 inches from the surface of your Vespa. Also, you should do a few test sprays just to see how the device works. Once you start spraying the part, make sure to create a nice long strip along the part without stopping the process. Then add another strip to the first one and so one. Finally, the entire bodywork was painted well so I left it to dry completely. Then I repeated the process to make sure that the coat of by Vespa machine after the repair is good enough. Once the second paint layer dried, I could start assembling my vintage scooter.
Другие публикации
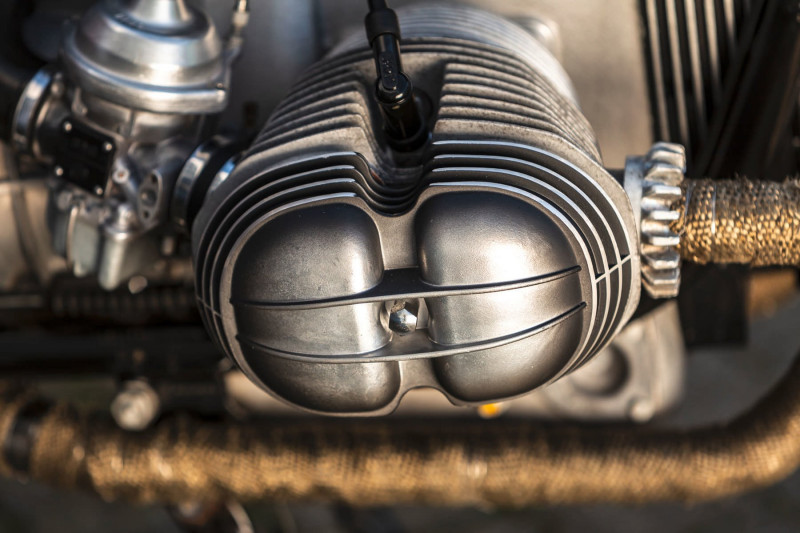
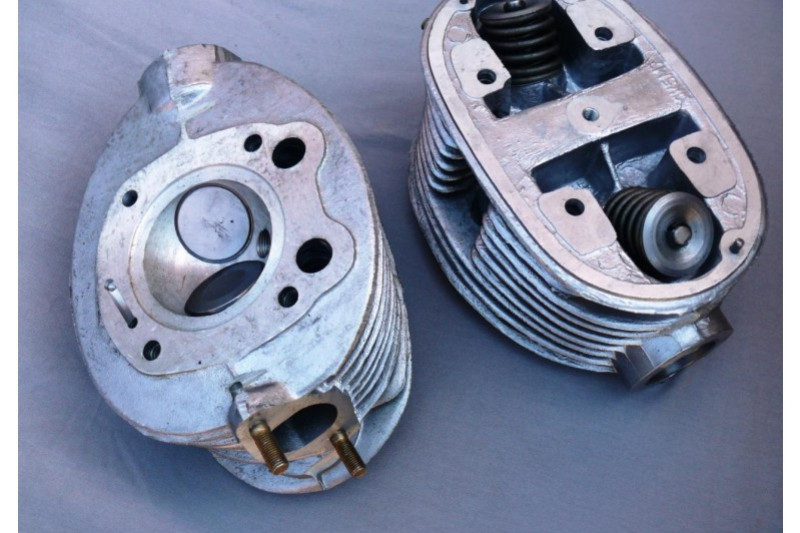
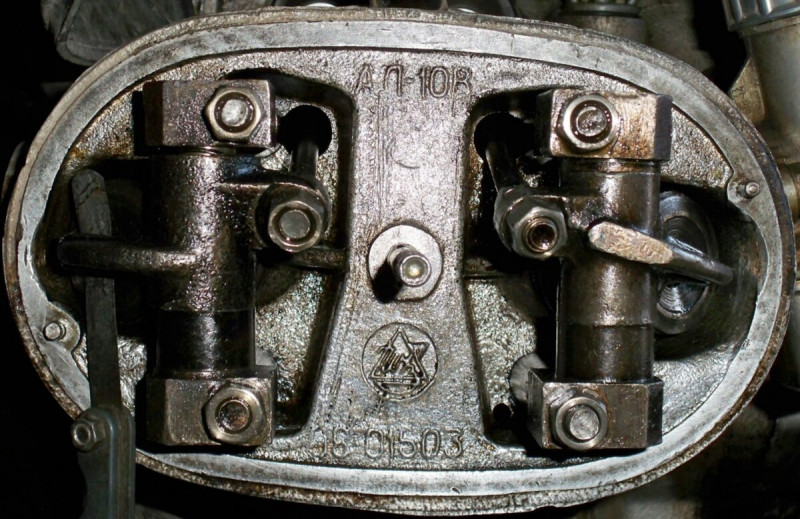
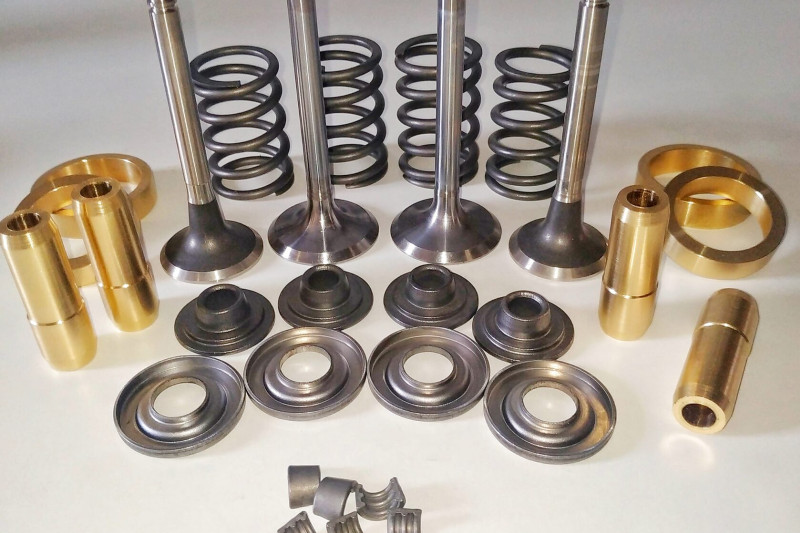
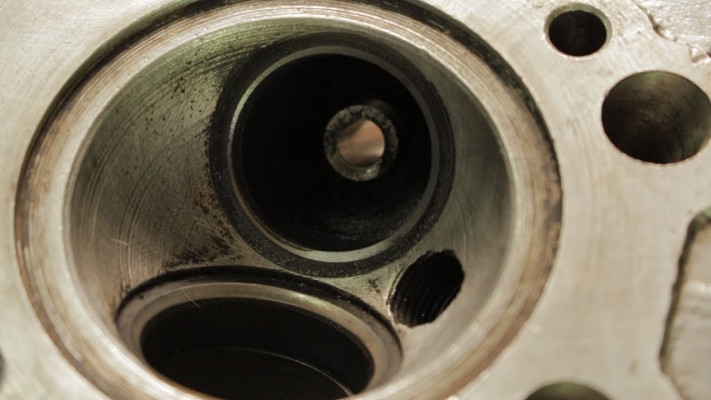
В статье рассматривается процесс правильного проведения ремонта головки цилиндра мотоцикла Урал. Вы узнаете об основных причинах выхода головки цилиндра из строя, необходимых инструментах и материалах для ремонта, а также шаг за шагом описан…
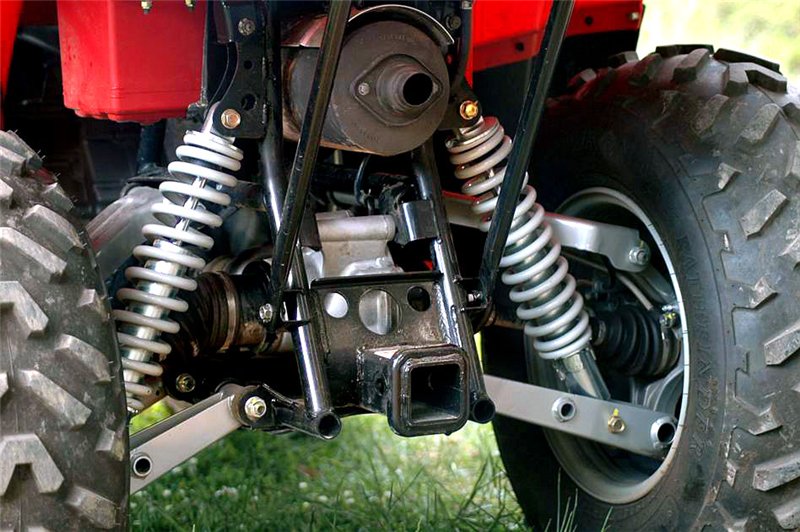
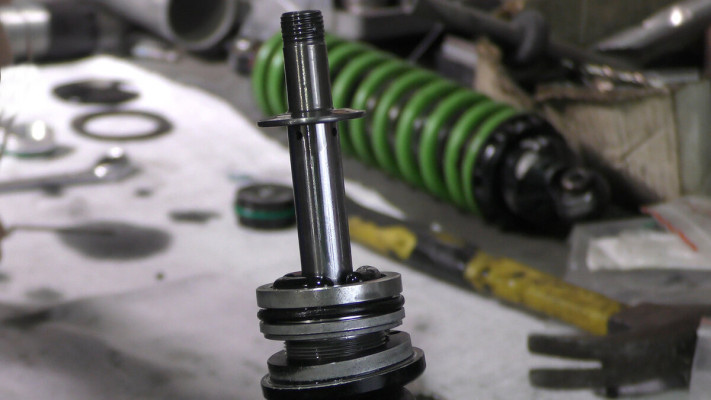
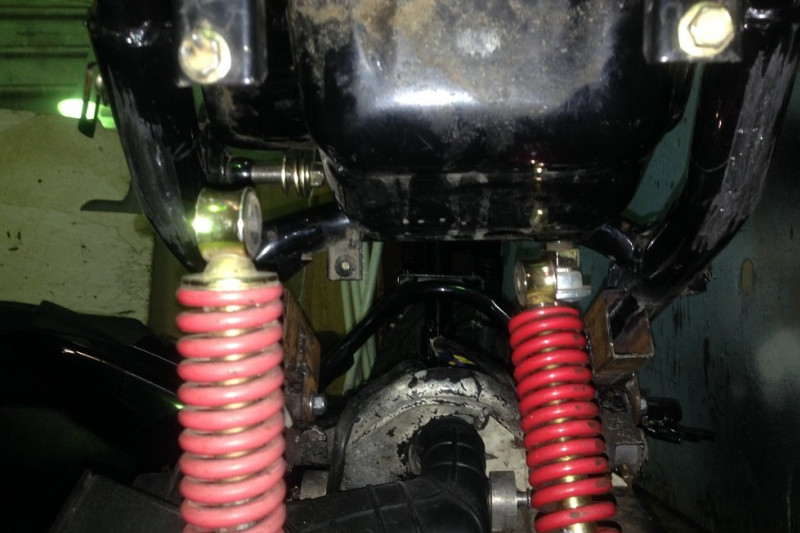
Амортизаторы являются важной частью подвески квадроцикла, обеспечивая плавность хода и преодоление препятствий. Однако со временем они могут изнашиваться и требовать ремонта.
В этой статье мы расскажем, как правильно произвести ремонт…
В этой статье мы расскажем, как правильно произвести ремонт…
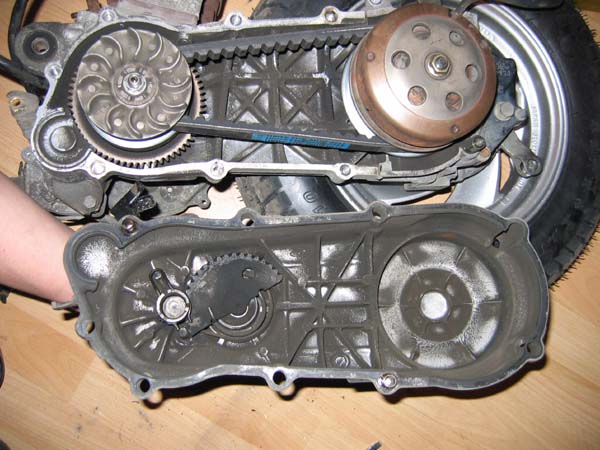
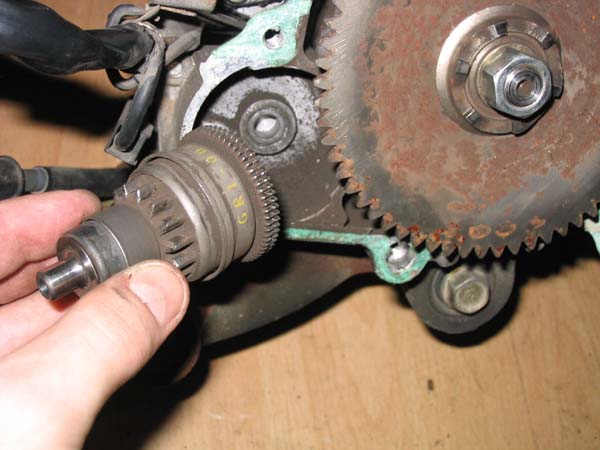
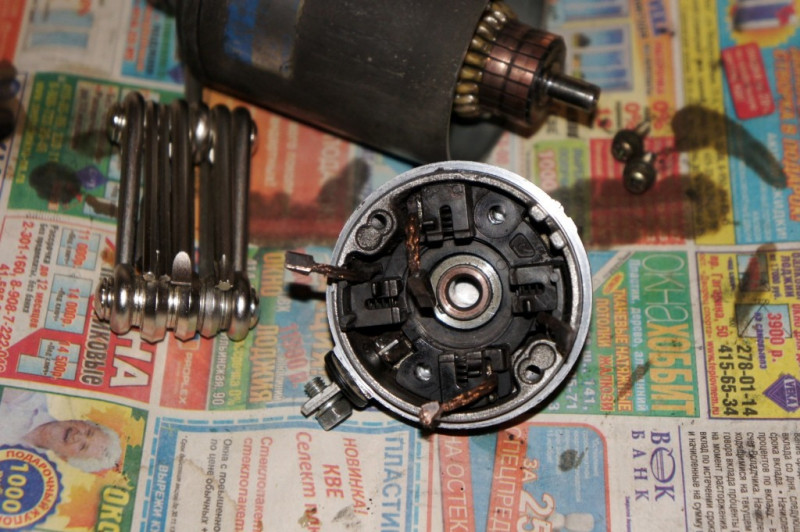
Неисправности стартера скутера могут возникнуть по разным причинам, но чаще всего они связаны с разрядкой аккумулятора или проблемами с электрической проводкой. Чтобы избежать серьёзных поломок, важно своевременно проводить диагностику и…
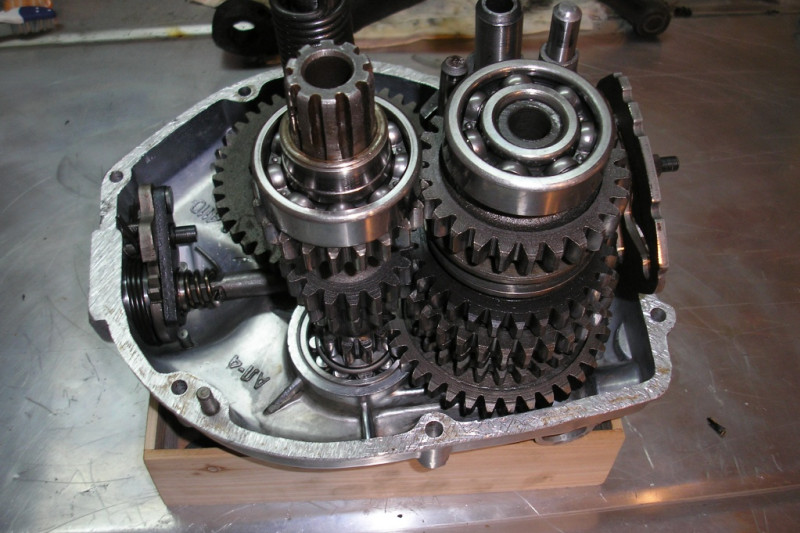
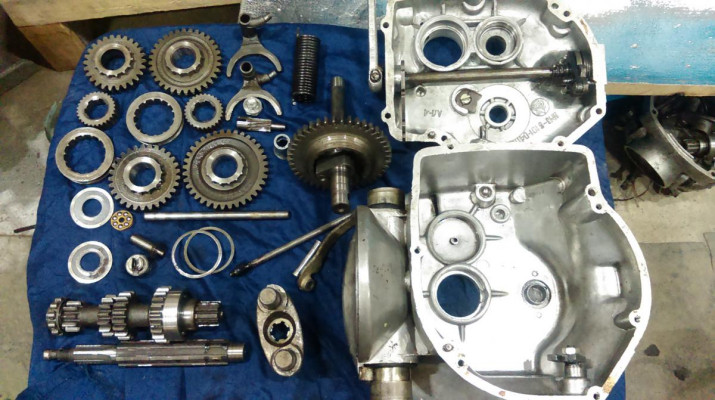
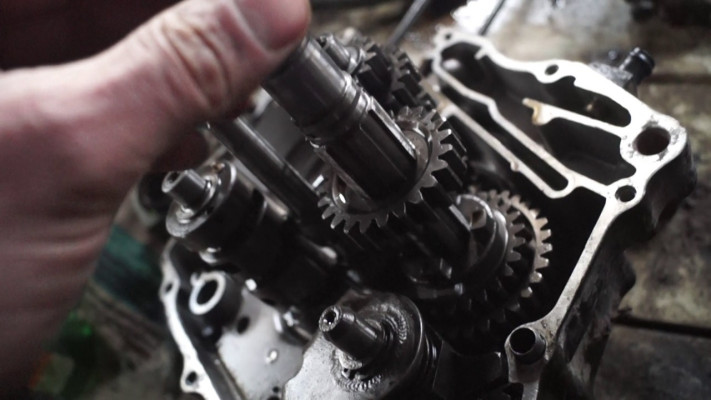
Коробки передач мотоциклов являются важными компонентами этих транспортных средств, которые отвечают за передачу крутящего момента от двигателя к заднему колесу. Они обеспечивают изменение передаточного отношения между двигателем и колесами, что…
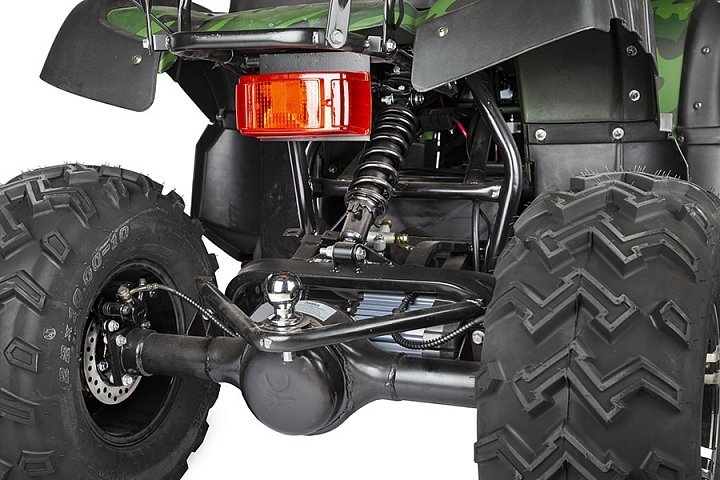
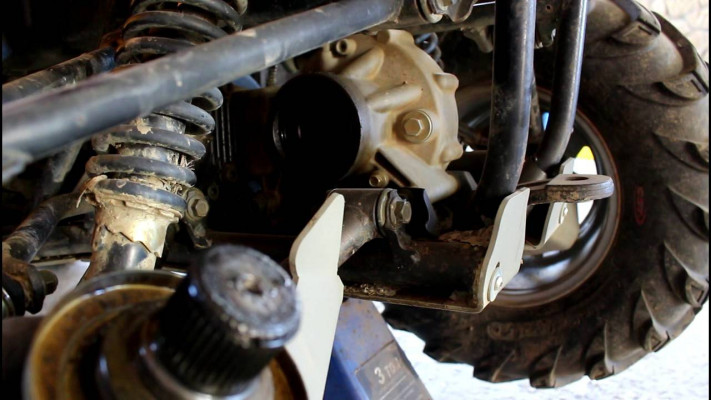
Квадроцикл – это универсальное средство передвижения, которое подходит для активного отдыха и решения повседневных задач. Однако, как и любой другой вид транспорта, квадроцикл требует регулярного обслуживания и ремонта, особенно его главной детали…

